How to Effectively Install Best Anti Bird Defender Spikes for Maximum Protection
 In today's world, where urbanization continues to encroach upon natural habitats, the struggle between humans and birds for safe spaces has become increasingly prominent. One effective solution to this challenge is the installation of Anti Bird Defender Spikes. These spikes serve as a humane deterrent, preventing birds from roosting or nesting on residential and commercial properties. Not only do they protect buildings from the mess and potential damage caused by bird droppings, but they also contribute to the overall aesthetics of the environment by maintaining cleanliness. Understanding how to effectively install these spikes is crucial for maximizing their protective benefits. In this blog, we will explore the various advantages of Anti Bird Defender Spikes, tips for proper installation, and the best practices to ensure they deliver optimal performance in safeguarding your property from unwanted avian visitors.
Overview of Anti Bird Defender Spikes: Types and Materials
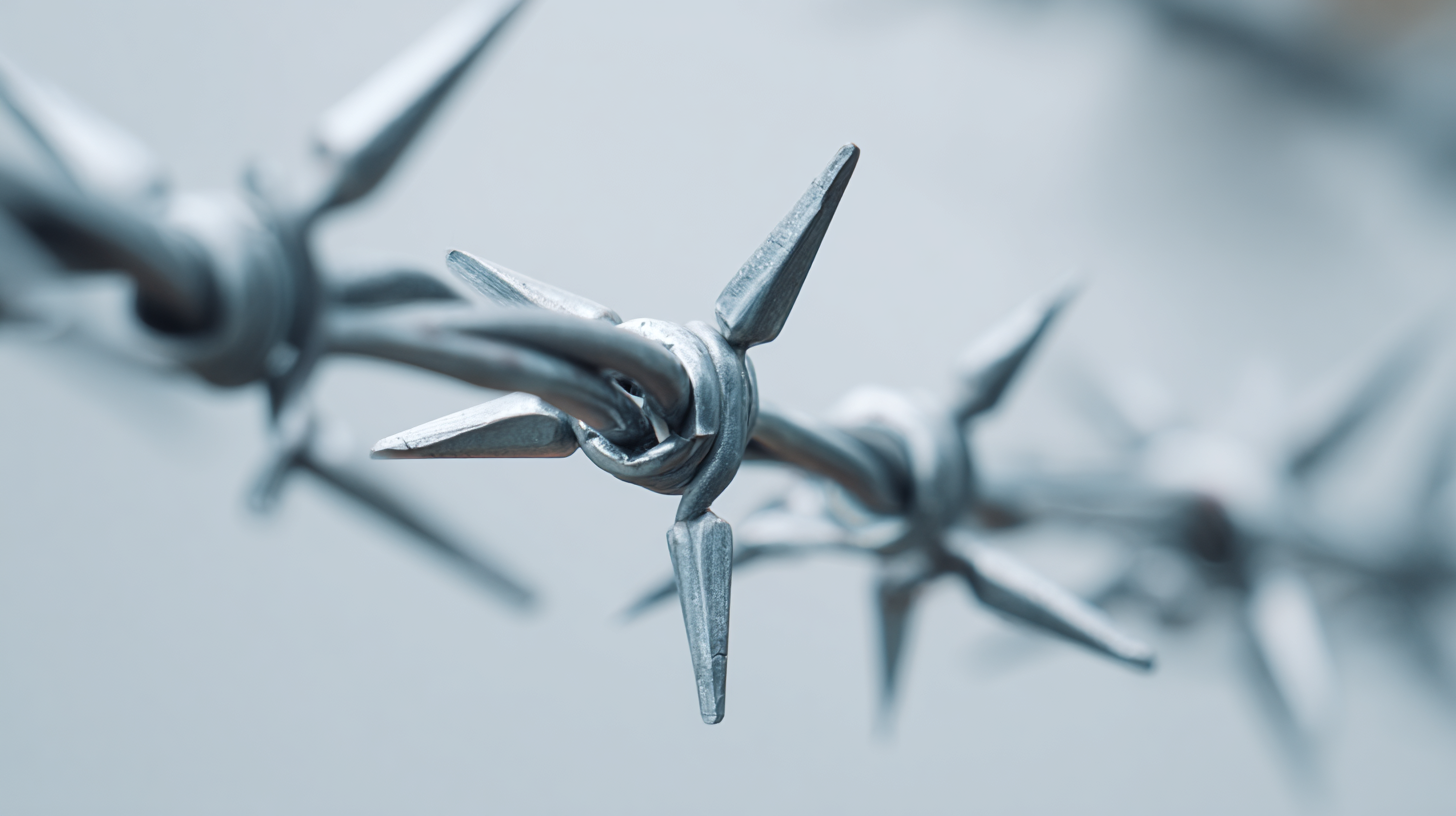
When it comes to choosing the right anti-bird defender spikes, understanding the various types and materials available is crucial for ensuring maximum effectiveness. Common types include stainless steel spikes, plastic spikes, and ceramic spikes. According to a report by the Bird Barrier, stainless steel spikes are noted for their durability and resistance to corrosion, making them suitable for long-term use in harsh weather conditions. Conversely, plastic spikes are lightweight and cost-effective, ideal for temporary solutions or on less threatened structures.
Selecting the right material is equally important. Metal spikes are less likely to degrade over time, while plastic spikes might offer UV resistance but may not withstand extreme environmental factors. Studies show that birds tend to avoid areas with spikes installed, reducing nesting and perching, which in turn minimizes potential damage to properties.
**Tips:** When installing spikes, ensure they are placed close enough to prevent birds from finding perching spaces between them. Additionally, consider integrating spikes with other deterrents, such as visual repellents, to enhance their effectiveness. Always check local regulations regarding bird control methods to ensure compliance and ethical practices.
Effectiveness of Different Types of Anti Bird Defender Spikes
Key Technical Specifications to Consider Before Installing
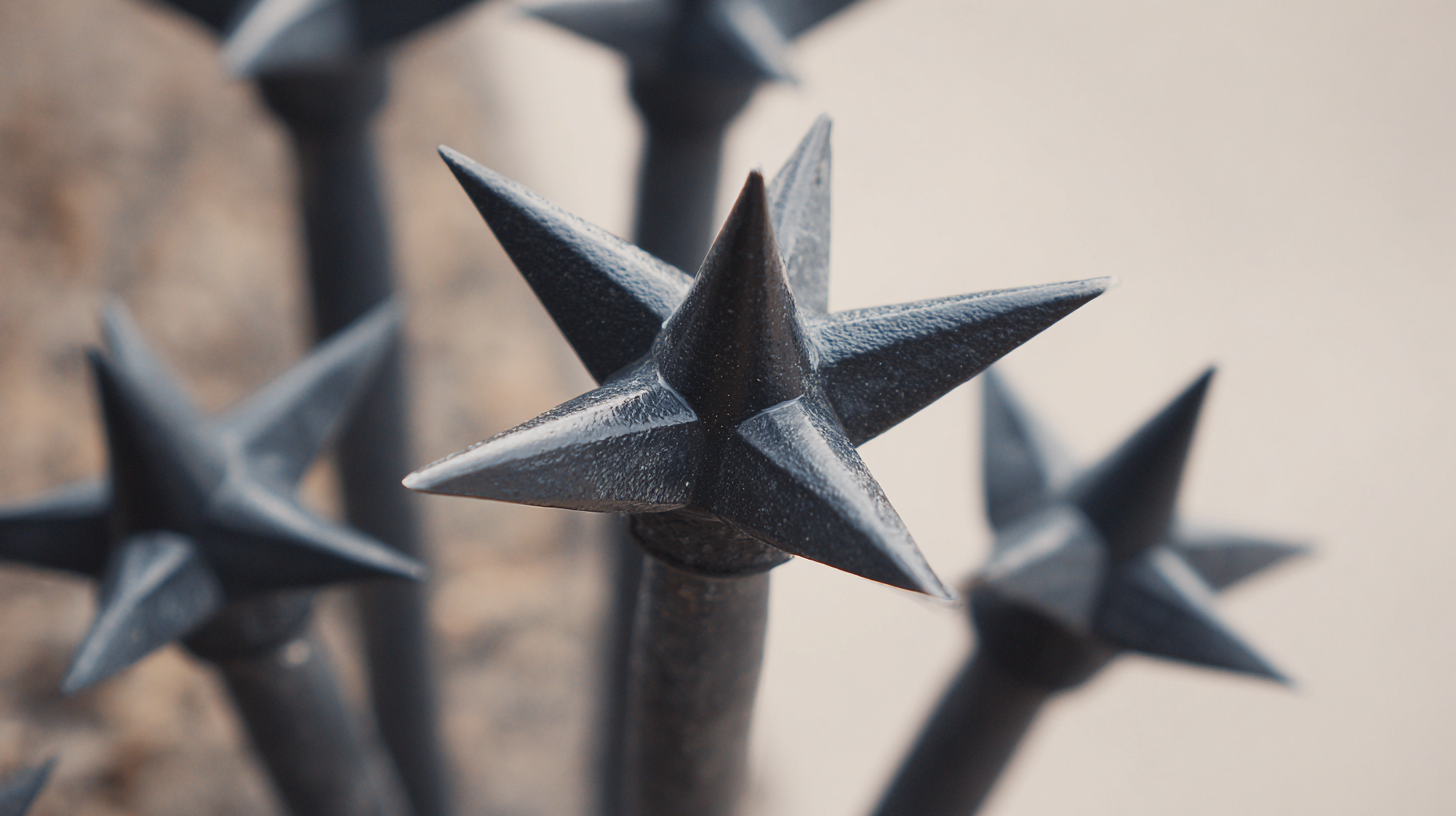
When considering the installation of bird defender spikes, understanding key technical specifications is essential for maximizing their effectiveness. According to a report by the Wildlife Society, bird perches can increase the likelihood of property damage by up to 80%, making the choice of materials and design crucial. The best spikes are typically made from high-grade stainless steel or durable plastic, which not only resist corrosion but also withstand various weather conditions, ensuring long-term performance.
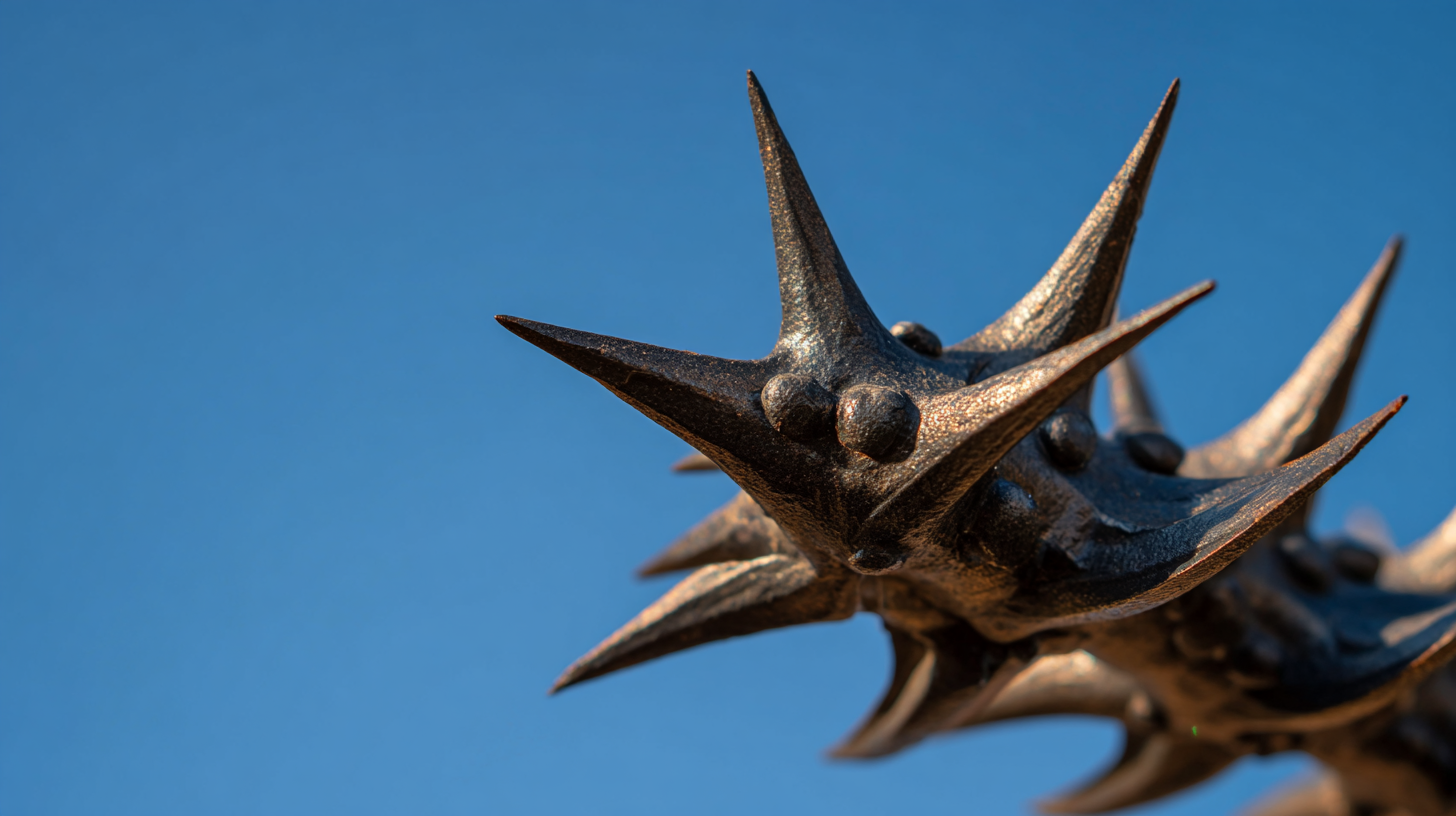
Moreover, the spacing and height of the spikes play a vital role in their effectiveness. A study published in the Journal of Avian Biology indicates that spikes should ideally be placed at a height of at least 10 inches and spaced no more than 3 inches apart. This configuration effectively deters birds while ensuring that no space is left for them to perch. Additionally, it is important to select spikes specifically designed for the type of bird you intend to deter, as different species have varying behaviors and perching preferences, which can significantly influence the success of your installation.
Step-by-Step Guide: How to Install Anti Bird Spikes Effectively
 When it comes to protecting your property from pesky birds, installing anti bird spikes can be an effective solution. In this step-by-step guide, we'll walk you through the process to ensure you achieve maximum protection against unwanted avian visitors. First, gather your materials, which typically include anti bird spikes, a measuring tape, a strong adhesive or screws, and safety gear like gloves and goggles. Ensure your work area is clean and free of debris to facilitate a smooth installation.
Next, begin measuring the area where you plan to install the spikes. It's crucial to cover all potential landing spots; common targets include ledges, rooftops, and awnings. Once measured, cut the spikes to fit as necessary. Apply the adhesive or secure the spikes with screws, ensuring they are firmly anchored and positioned in such a way that they deter birds while remaining discreet. Take your time with this step, as proper installation will enhance the effectiveness of the spikes. Following these guidelines will help you achieve a bird-free zone, allowing you to enjoy your space without the disturbances of bird droppings and noise.
Tips for Maximizing the Effectiveness of Bird Spikes
When it comes to protecting your property from birds, effective installation of anti-bird spikes is crucial for maximum effectiveness. Bird spikes not only deter pests but also help maintain the cleanliness and safety of your environment. Research has shown that bird spikes can reduce bird-related issues by up to 80% when properly installed. To achieve optimal results, it's important to consider the specific area of installation, as different bird species may require tailored approaches.
One effective tip is to ensure the surface is thoroughly cleaned before installation. Debris, dirt, or existing bird droppings can reduce the adhesive capabilities of the spikes, compromising their effectiveness. It is also advisable to place the spikes in areas where birds are most likely to perch or nest, such as ledges, rooftops, and overhangs. A common mistake is neglecting to cover all potential resting spots, which can lead to continued bird problems despite the installation.
Additionally, monitoring and maintenance of the spikes is key. Regular inspections can prevent the buildup of organic material that may interfere with their deterrent capabilities. According to industry studies, an effective bird management strategy can decrease pest populations significantly, thereby protecting your property while ensuring a comfortable living environment.
Maintenance Guidelines for Long-Lasting Bird Spike Performance
Proper maintenance of bird spikes is essential to ensure their longevity and effectiveness in deterring unwanted birds. Regular inspections should be conducted to check for any signs of wear or damage. Cleaning the spikes of any debris, such as leaves or droppings, can enhance their efficiency. A simple washing with water or using a soft brush can help keep the spikes in optimal condition. It is important to avoid harsh chemicals that may deteriorate the materials over time.
Additionally, re-evaluating the placement of bird spikes periodically can help maintain their effectiveness. If the surrounding environment changes, such as new landscaping or nearby structures, it may be necessary to adjust the spikes to ensure they are still functioning as intended. Keeping an eye out for any birds that might be attempting to land in the area will allow you to respond promptly if new adjustments are needed. Adhering to these maintenance guidelines will not only extend the life of your bird spikes but also provide maximum protection against bird-related issues.
How to Effectively Install Best Anti Bird Defender Spikes for Maximum Protection - Maintenance Guidelines for Long-Lasting Bird Spike Performance
| Installation Step |
Description |
Maintenance Frequency |
Tips for Longevity |
| Clean the Surface |
Ensure the installation surface is clean from dust and debris. |
Before Installation |
Use soapy water for thorough cleaning. |
| Position the Spikes |
Place the spikes at least 3-4 inches apart for effective coverage. |
During Installation |
Use a marker to outline positions before placing spikes. |
| Secure the Spikes |
Attach spikes securely using appropriate adhesive or screws. |
During Installation |
Ensure a strong bond for better durability. |
| Regular Inspection |
Check the spikes for wear and tear regularly. |
Every Six Months |
Look for loose or broken spikes. |
| Clean the Spikes |
Remove any debris, leaves, or bird droppings. |
Every Three Months |
Use a soft brush to avoid damaging the spikes. |


 Bird & Pigeon Pest Control
  Mice & Rat Pest Control
  Mole & Vole & Gopher Pest Control
  Fly Insect Pest Control
  Wasp & Bee Pest Control
  Moth Pest Control
  Mosquito Pest Control
  Cockroach Pest Control
  Wildlife Pest Control
  Snake Pest Control
  Bed Bug & Flea Pest Control
  Snail & Slug Pest Control
  Ant & Termites Pest Control
  Spider Pest Control
  Other Insect Pest Control
  Garden Products
  Blog
Blog  Dining Group
 Occasional Tables
 Barstool
 Company Profile
 Our Advantages
 Certification
 Factory VR
 Photos
 Videos
 Product News
 Industry News
 Media Live
 Our Services
 Distributor and Agent
 FAQs
FAQs